Setting up NordVPN on Your TP-Link Router A Step by Step Guide
Setting up NordVPN on your TP-Link router is a practical way to protect all devices on your home network with a single VPN connection. In this guide, you’ll get a clear, step-by-step walkthrough to get NordVPN running on a TP-Link router, plus tips to optimize performance and security. Quick fact: using a VPN on your router means every device, including smart TVs, game consoles, and IoT gear, benefits from VPN protection without configuring each device individually.


Useful resources and starter links text only:
- Apple Website - apple.com
- NordVPN Help Center - nordvpn.com/faq
- TP-Link Support - tp-link.com/support
- VPN Security Guide - en.wikipedia.org/wiki/Virtual_private_network
- Router Firmware Updates - tp-link.com/support/download
If you want a unified VPN shield for every device on your home network, setting up NordVPN on your TP-Link router is the way to go. This step-by-step guide breaks down the whole process into simple parts, so you don’t need to be a networking pro to get it done. Here’s what you’ll find:
- Why you should run NordVPN at the router level
- Compatibility checks and prerequisites
- Detailed, screen-by-screen setup steps for TP-Link routers
- Common pitfalls and quick troubleshooting tips
- How to verify your VPN connection across multiple devices
- Security and performance best practices
What you’ll need quick checklist
- A TP-Link router that supports OpenVPN or VPN client mode e.g., Archer series like Archer C7, Archer A7, or newer models
- An active NordVPN subscription
- A computer or tablet connected to the TP-Link router via Wi-Fi or Ethernet
- Access to the router’s admin interface
- A stable internet connection for initial setup
Why set up NordVPN on the router
- It secures every device on your network by default
- It prevents per-device VPN configuration headaches
- It keeps your smart home devices protected without manual setup
- It can help bypass geo-restrictions for all connected devices
What to know before you start
- Not all TP-Link models support OpenVPN client mode natively. If yours doesn’t, you might need to install Tomato or OpenWrt firmware, which has its own risks and compatibility considerations.
- Performance depends on your internet speed and VPN server load. Expect some slowdown, but this is often negligible for general browsing and streaming.
- NordVPN supports multiple simultaneous connections; router setup typically uses one connection for all devices, freeing up per-device connections.
Step 1: Check your router compatibility and firmware version
- Confirm model: TP-Link Archer series e.g., C7, A7 generally supports OpenVPN client mode with stock firmware or after a firmware upgrade.
- Firmware version: Log in to the router admin page usually http://tplinkwifi.net or http://192.168.0.1. Check for the latest firmware in System Tools or Firmware Update.
- If your model doesn’t support OpenVPN natively, you may need third-party firmware like OpenWrt more complex and riskier. Decide if you’re comfortable with that route.
Step 2: Sign up for NordVPN and download configuration
- Sign in to NordVPN and go to the VPN setup section.
- Choose OpenVPN and download the OpenVPN configuration files. You’ll typically pick a server location you want to connect through, often selecting UDP for better speed.
- Note: NordVPN uses OpenVPN config files that you’ll upload to your router. You’ll also need your NordVPN username and password, or a generated token if the portal provides it.
Step 3: Access your TP-Link router admin panel
- Connect your computer to the router’s network.
- Open a browser and enter the router’s IP address commonly 192.168.0.1 or 192.168.1.1.
- Log in with your admin credentials. If you haven’t changed them, the default is usually admin/admin or admin/password check the label on the router.
Step 4: Enable OpenVPN client mode stock firmware
- Navigate to the VPN section. This could be under Advanced Settings > VPN Client or VPN Server, depending on the model.
- If you don’t see OpenVPN options, your router firmware might not support OpenVPN directly. In that case, you may need to flash alternative firmware or use a dedicated VPN router connected to the TP-Link.
- Turn on/Open the VPN Client mode.
Step 5: Upload NordVPN OpenVPN configuration
- In the OpenVPN client settings, you’ll upload the .ovpn file or paste the server details, along with any CA certificate and TLS Auth keys if required.
- Some TP-Link models require you to paste server address, port, and protocol manually; others allow the .ovpn file upload.
- Enter NordVPN credentials username and password when prompted. You may use the NordVPN credentials provided in your account or token-based login if the interface supports it.
- Save settings after you’ve entered all required data.
Step 6: Start the VPN connection and choose a server
- In the VPN client section, initiate the connection.
- If prompted, choose a NordVPN server location suitable for your needs e.g., closest for speed, or a country for access to geo-restricted content.
- Give the router a moment to establish the VPN tunnel. You should see a connected status.
Step 7: Verify the VPN connection
- On a connected device, open a browser and go to a site like whatismyipaddress.com to verify your IP address shows the VPN server’s location.
- Check for DNS leaks by visiting dnsleaktest.com. If you see NordVPN servers or a non-local IP, you’re likely good.
- If you have multiple devices, test a couple to confirm coverage across the network.
Step 8: Configure routes if needed
- Some setups require you to specify which devices or subnets should go through the VPN. If you want only certain devices like desktops or consoles to use the VPN while others use the regular connection, you’ll set up policy-based routing.
- This is optional for most home users but available for more granular control.
Step 9: Optimize for performance and stability
- Use a VPN server location that balances speed and accessibility. Nearer servers usually perform better.
- If you notice buffering or slow speeds, try a different NordVPN server or switch between UDP and TCP protocols if your TP-Link firmware supports that option.
- Enable a VPN kill switch if your router’s firmware includes it. This prevents data leakage if the VPN drops temporarily.
Step 10: Security hardening and maintenance
- Change the router’s admin password to something strong and unique.
- Keep your router firmware up to date to protect against vulnerabilities.
- Regularly monitor connected devices and review VPN connection logs if your router provides them.
Troubleshooting quick tips
- VPN won’t connect: Double-check server address, port, and protocol. Re-upload the .ovpn file if needed.
- Connection drops: Try a different NordVPN server, or toggle the VPN switch off and on again. Reboot the router if issues persist.
- Some devices don’t route through VPN: Ensure you’re using router-wide VPN not per-device VPN. If you’ve set up selective routing, verify the routing rules.
- DNS leaks: Use NordVPN’s DNS servers if available on your router or configure the router to use trusted DNS e.g., 1.1.1.1 and 1.0.0.1 and enable DNS leak protection if present.
Advanced tips and scenarios
- Two-router setup: If your TP-Link router is acting as an access point or bridge, you’ll need to configure OpenVPN on the primary router or consider a dedicated VPN router with OpenVPN support in front of your TP-Link.
- Guest networks: If you want guest devices to bypass the VPN, keep the main network on VPN and create a separate guest network that uses the native ISP routing.
- IoT devices: If you’re concerned about load on the VPN, consider placing only high-risk devices under VPN coverage and keeping others on the native network.
Performance data and best-practice considerations
- VPN overhead typically reduces throughput by 10–40% depending on server load and encryption settings. NordVPN with OpenVPN UDP generally offers better speeds than TCP.
- Latency can increase by 20–60 ms on average when using a VPN, but the impact on casual browsing and streaming is often minimal.
- For 4K streaming and gaming, pick NordVPN servers that are geographically close and optimized for streaming to minimize buffering and latency.
Table: Quick comparison of common TP-Link router setups
- Model: Archer C7
- OpenVPN support: Yes stock firmware
- Complexity: Moderate
- Best for: Basic VPN routing across all devices
- Model: Archer A7
- OpenVPN support: Yes stock firmware
- Complexity: Moderate
- Best for: Home users seeking easy setup
- Model: Archer C2300
- OpenVPN support: Yes stock firmware
- Complexity: Moderate to high
- Best for: Heavier usage and more devices
- Model: OpenWrt-enabled TP-Link routers
- OpenVPN support: Yes via OpenVPN client
- Complexity: High
- Best for: Advanced users; more customization
What happens after setup: day-to-day use
- All devices on the network will automatically route through NordVPN, unless you’ve set up exceptions.
- NordVPN server location can be changed from the router’s VPN page without touching individual devices.
- If you add new devices, they’ll be protected as soon as they connect to the router network.
Best practices recap
- Pick a nearby NordVPN server for better speed and lower latency.
- Use UDP for faster connections unless firewall rules require TCP.
- Enable the router’s DNS protection and consider using NordVPN’s DNS if the option is available.
- Regularly check for router firmware updates to keep things secure and stable.
- Maintain strong router admin credentials and perform periodic security checks.
Frequently asked questions
Frequently Asked Questions
Do I need a NordVPN account to set up on my TP-Link router?
Yes, you need a NordVPN subscription and login credentials to configure the VPN on your router and use NordVPN servers.
Can I set up NordVPN on any TP-Link router model?
Most TP-Link Archer models support OpenVPN client mode, but compatibility varies. If yours doesn’t, you may need to upgrade firmware or use a different router.
Will all my devices be protected after router setup?
Yes, once the VPN tunnel is established on the router, every device connected to that router is protected by NordVPN.
Can I run NordVPN on two routers at the same time?
You can, but each router would need its own NordVPN configuration and subscription. Some plans limit concurrent connections; check your NordVPN plan details.
How do I switch VPN servers from the TP-Link router interface?
Go to the VPN client section, disconnect if connected, select a new server location, and reconnect. Some routers require editing config files or re-uploading .ovpn files for the new server. Is Quick VPN Safe for Your Online Privacy and Security: A Deep Dive Into Quick VPN’s Trust, Performance, and Protection
What if a device isn’t using the VPN?
If a device isn’t routing through the VPN, verify your router’s VPN status and ensure the device is connected to the VPN-enabled network. Check for IP or DNS leaks on that device.
Can I use split tunneling on a TP-Link router with NordVPN?
Router-level VPNs typically don’t support per-device split tunneling directly. For complex routing needs, you might need a firmware that supports it or a secondary router setup with advanced rules.
How can I test that my VPN is working correctly?
Visit whatismyipaddress.com to confirm the IP shows the VPN server location. Use dnsleaktest.com to check for DNS leaks.
Are there security risks with router-level VPNs?
If configured correctly with strong credentials and regular firmware updates, router-level VPNs are safe. Misconfigurations can expose risks, so follow official guides and avoid outdated settings.
How do I revert to normal internet without VPN on TP-Link?
Disable the OpenVPN client on the router and reboot the router. All devices will then use the normal, non-VPN connection. Nordvpn not working with Firefox heres your easy fix: Quick Troubleshooting, Tips, and Safe Alternatives
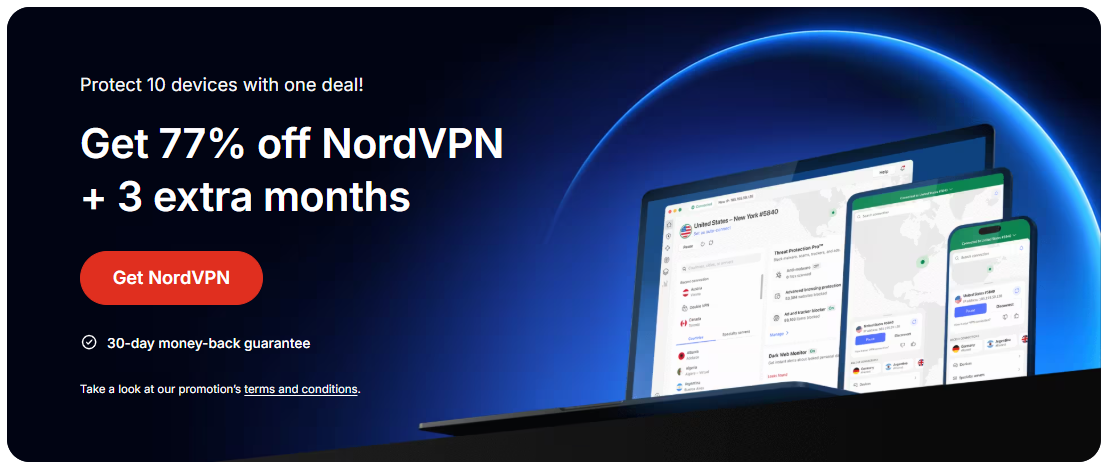
Affiliate note If you’re looking to simplify your setup, consider NordVPN with the router configuration described above. For quick, direct access to NordVPN resources and to support the channel, you can click through this link for NordVPN: - https://go.nordvpn.net/aff_c?offer_id=15&aff_id=132441
End of the guide This step-by-step approach helps you protect every device via NordVPN on your TP-Link router, improving privacy and security across your entire home network. If you want more hands-on help or run into specific issues, drop your router model and problem in the comments, and I’ll tailor the steps to your exact setup.
Sources:
Topvpn offer com:VPN 使用全攻略、速度优化、隐私保护、解锁地理限制、购买指南、安装与设置细节
龙加速器:提升VPN体验的全方位指南,含实用技巧与最新数据
Dayz vpn detected heres how to fix it and get back in the game Channel 4 not working with your vpn heres how to fix it: Quick, Easy Fixes for Smooth Streaming
路由器vpn怎么设置:完整指南、實作步驟與常見問題解析
V2ray开热点:V2ray热点分享、设置與常見問題一次搞懂