
Bosch ra1054 router guide demo
A practical guide and demo of the Bosch RA1054 Deluxe Router Guide, including setup, edge and circle guide use, and tips.

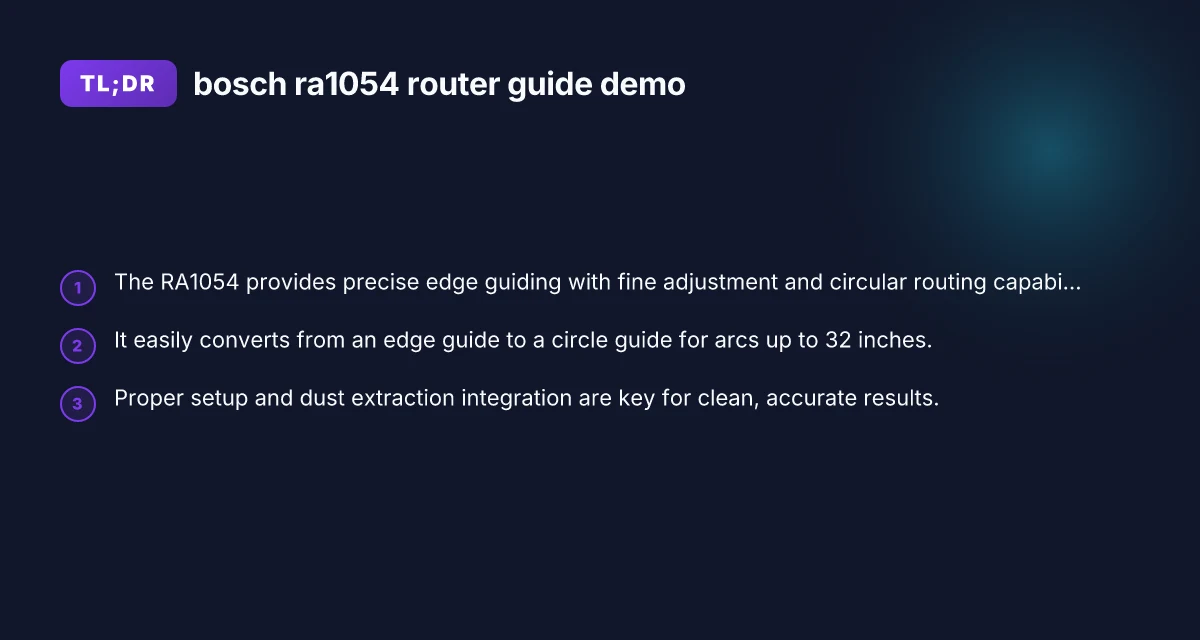
The Bosch RA1054 Deluxe Router Guide is a versatile accessory that expands a standard router’s capabilities. It provides precise edge guidance for straight routing and, with its circle guide conversion, can cut arcs and circles up to 32 inches in diameter. This article walks you through a practical guide and demo of using the RA1054, highlighting setup, features, adjustments, and tips to get clean, repeatable cuts.

What the RA1054 is and what it does
The RA1054 is designed to pair with compatible routers to transform basic bits into a flexible routing system. It consists of an edge guide rail, a pivot plate, a dust collection hood, and a circle guide accessory. Key capabilities include:
- Fine adjustment control for precise positioning
- Straight-edge routing along a workpiece
- Conversion into a circle guide for arcs and large circles (up to 32 inches in diameter)
- Dust extraction compatibility to improve visibility and cut quality
- Compatibility notes: check your router’s compatibility with the RA1054 mounting and height
This combination makes it a popular choice for cabinetry, joinery, and decorative work where both straight and curved cuts are needed.

Setup basics: mounting, alignment, and checks
Getting started correctly saves frustration later. Follow these steps for a solid setup:
- Mounting: Attach the RA1054 to the router base according to the included instructions. Ensure screws are snug but not overtightened to avoid distorting the base.
- Edge guide alignment: Position the edge guide so that the router bit’s cutting edge will follow your intended edge. Use the fine adjustment knobs to dial in small lateral movements.
- Depth and height: Set the router bit depth first. Then recheck the depth after the RA1054 is mounted, as mounting can sometimes slightly shift the bit’s effective cutting height.
- Circle guide prep: If you’ll be cutting arcs, attach the circle guide accessory and set the desired circle diameter. Remember that larger diameters may require careful workpiece support and adequate clamping.
- Dust hood and hose: Attach the dust extraction hood and run a vacuum hose if you have one. A clean work area helps with accuracy and visibility.
- Test cut: Do a dry run on scrap material to confirm the guide tracks along the intended path and adjust as needed.
Using the Edge guide for straight routing
The edge guide is the RA1054’s bread-and-butter function for many projects. Tips for clean straight cuts:
- Secure the workpiece: Clamp firmly to prevent movement during routing.
- Fence alignment: If you’re using the edge guide as a fence, ensure the follower wheel or guide is aligned parallel to the cut line.
- Bit selection: Choose a bit appropriate for the material and cut type (straight bit for material removal, downcut for clean top surfaces, etc.).
- Feed direction and speed: Move the router at a steady pace, with consistent pressure toward the bit. Avoid abrupt starts or stops, which can cause tear-out.
- Real-world checks: Periodically verify that the edge guide remains parallel to the cut line as you progress, especially on longer runs.
- Finishing passes: For clean edges, you may prefer multiple light passes instead of a single heavy cut.
Converting the RA1054 to a circle guide: how to make arcs and large circles
The circle guide capability is a standout feature for creating arcs, circular templates, or circular shelves. A practical approach: Impostazioni Edge: a practical guide to tuning Microsoft Edge for privacy and speed
- Attach the circle guide: Lock the RA1054 into the circle guide setup. Ensure it is perpendicular to the workpiece surface for accurate circles.
- Set the center and diameter: Position the circle center at your intended pivot point. Dial in the diameter of the circle you want to cut.
- Secure the pivot: Ensure the pivot point is stable and that the guide moves smoothly around the center without binding.
- Test and adjust: Do a test pass on scrap material to confirm the circle’s curvature and diameter. Adjust the radius or center as needed.
- Material handling: For large circles, secure both ends of the workpiece or use sacrificial backing material to prevent tear-out and support the long cut.
- Finishing considerations: Depending on your bit, you might run multiple passes with incremental depth increases to minimize heat and chatter.
Practical demo cues: common setups and workflow
A practical demo of using the RA1054 often follows this loop:
- Prepare the workpiece and clamp it securely.
- Mount the RA1054, set initial depth, and align the edge guide to the starting edge.
- Do a dry run to verify alignment and smooth travel.
- Switch to the circle guide for arcs, setting the center and diameter.
- Make successive passes, adjusting depth slightly after each pass if required.
- Clean up with dust extraction to keep the cut line visible and reduce chip buildup.
In many real-world demos, users switch between the edge guide and circle guide mid-project to accommodate a mix of straight edges and circular features. The RA1054’s modular approach makes this flexible without a lot of reconfiguration.
A quick comparison: Edge guide only vs. Edge + circle guide
Here’s a concise look at when each setup shines and what to expect.
| Configuration | Best for | Key considerations | Typical outcomes |
|---|---|---|---|
| Edge guide only | Straight edge routing, dadoes, rabbets, trim cuts | Requires parallel guide alignment to cut line; dust extraction helps visibility | Clean, precise straight cuts with repeatable results |
| Edge guide + circle guide | Arcs, circular dados, circular shelves, circular templates | Center pivot and diameter accuracy are critical; larger diameters may require more support | Smooth arcs and large circles with consistent radii |
This table reflects how users often employ the RA1054 in real projects, balancing straight-line work with curved elements as needed.
Common issues and how to troubleshoot
No tool is perfect out of the box. Here are some frequent snags and fixes: Best free Edge VPN extension for UK
- Inaccurate cuts: Recheck mounting screws, ensure the edge guide is square to the base, and confirm the bit depth is consistent after mounting.
- Bit wandering during circle cuts: Recheck the circle guide’s center point and ensure the pivot is secure and free of play. Use a slower feed rate on the initial passes.
- Threaded adjustments sticking: Clean the adjustment knobs and apply a light lubricant suited for plastics and metal, then re-tighten to finger-slight resistance.
- Dust leakage around the hood: Ensure the hood is seated properly and that the vacuum hose is fully attached and free of kinks.
Maintenance and care
To keep the RA1054 performing well over time:
- Clean after use to prevent sawdust from gumming up the adjustment mechanisms.
- Inspect fasteners for loosening and retighten as needed.
- Check the circle guide for smooth rotation and replace worn bushings if present.
- Store in a dry, organized space to prevent rust and corrosion on metal parts.
Short final section: recommendation
For woodworkers who frequently switch between straight-edge routing and circular features, the Bosch RA1054 Deluxe Router Guide offers a robust, precise, and adaptable solution. Its combination of an edge guide with fine adjustment and a convert-to-circle capability makes it a practical upgrade for many routers. If your shop often handles cabinet edges, dado grooves, cutouts, or circular templates, the RA1054 stands out for its ability to handle both straight and curved tasks with solid repeatable results. When paired with a compatible Bosch router and a reliable dust extraction setup, it delivers a clean, efficient routing experience that can pay off in time saved and improved accuracy on a range of projects.